Nowadays, it seems that we take more photos than ever before thanks to our smartphones with built-in cameras. We can capture precious memories with ease, but very often, the images need some adjustments. The most common ones are crop and rotate. If you want to crop or rotate some of your images and you use Windows 10, you can make changes using the built-in Photos app. It comes with many handy options and tools that allow you to make changes with just a few clicks. Here, in this article, we are going to show you how to crop and rotate images in Photos app on Windows 10, so if that’s something you want to do, keep reading.
See also: How to change panel position in Vivaldi browser on Windows 10
How to crop and rotate images in Photos app on Windows 10
One of the most used tools in the Photos app is crop and rotate. It is simple and it is easy – you can fix the images in seconds. Here is how to do just that:
- Open the Photos app on your Windows 10 PC
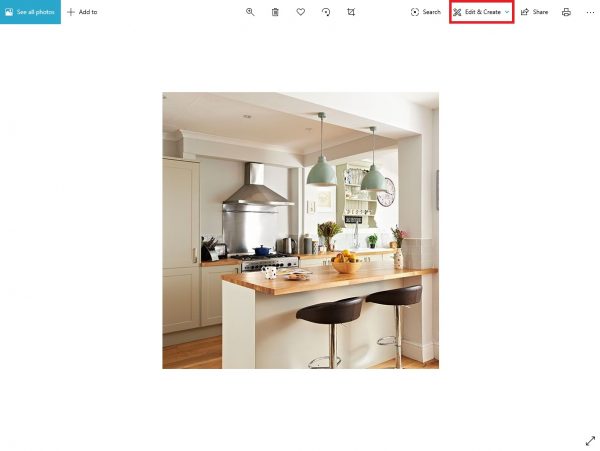
- Now open the image you want to crop or rotate or both
- Click on Edit & create in the top-right corner
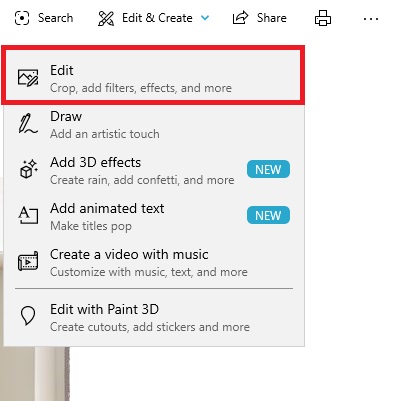
- Click Edit
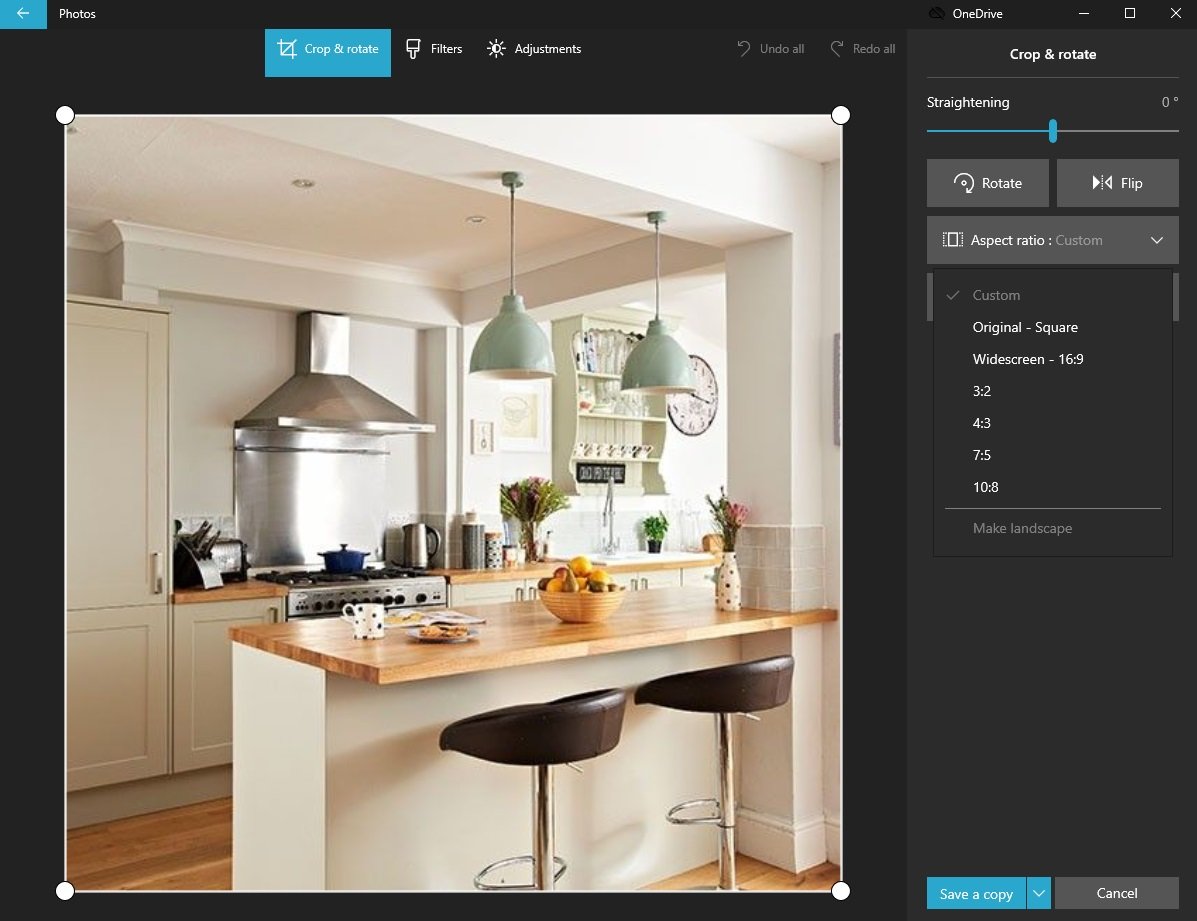
- Crop and rotate will open
- Now you can crop the image manually, by clicking and dragging the circles that are placed in the corners of the photo
- Another option is to click on the Aspect ratio and make changes automatically

- To rotate the image, just click on the dedicated option on the right side of the app
- You can use the “Flip” button as well – it will flip the image horizontally.
When you are done with changes and adjustments, click on Save a copy in the bottom-right corner of the app. Choose where you want the copy to be placed, and click Save. That’s it!